
Step 1 – Post Digging Party
You know you want it. A place to lounge in the sun, host an outdoor summer bash or simply sit and catch your breath is just what you need. All of that can be waiting outside the patio door if you tackled the plan to build a wood deck.
It can’t be too difficult, right? With the right tools, a few afternoons of work and at least one extra set of hands it won’t be. Your brand new, well built deck will sit proudly in your yard waiting for the kick off BBQ to start.
Building a deck is simple with only 4 basic steps:
• Posts
• Framing
• Decking
• Railing and other features
Don’t get too excited. Within those four steps are a list of tiny, baby steps and big hurdles to get over. Sounds like a challenge and DIY folks are always up for a challenge.
Throw a Post Digging Party
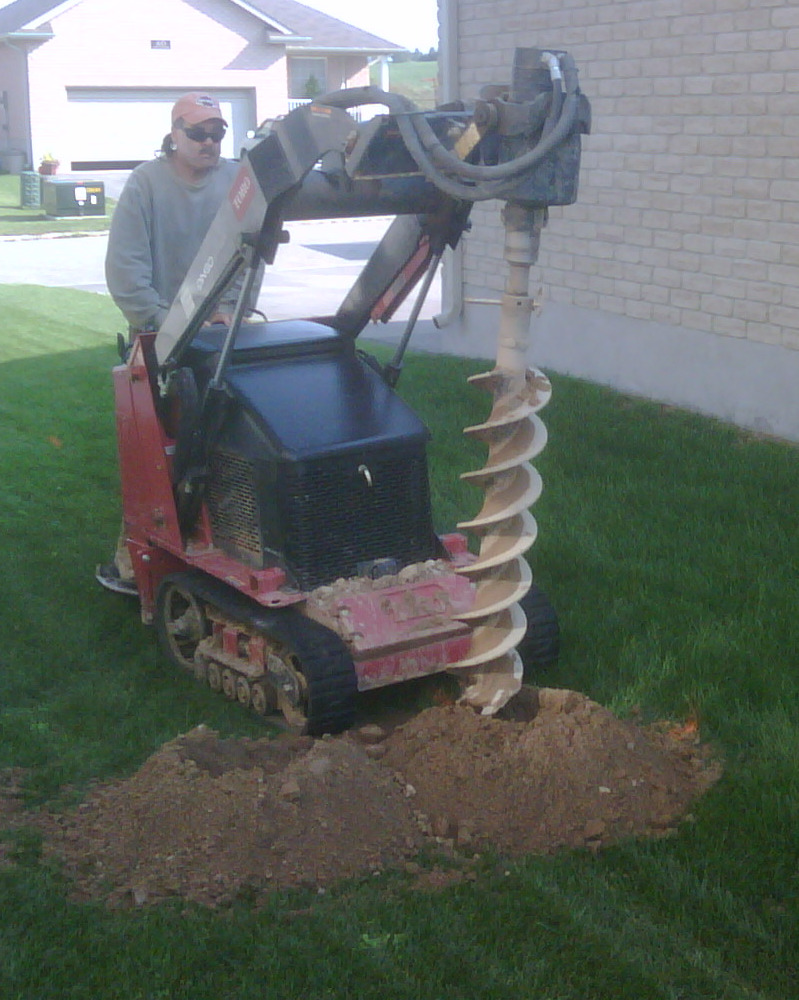
This Dingo with auger bit attached is the quick and easy way to dig post holes - well worth the rental fee.
Here’s where you can stretch those muscles and get involved in some hard labor. Mark your post holes ahead of time with paint or stakes and string. Also, give the local utilities a call to locate the phone, cable, gas and electrical lines underground. Stay safe (and keep the cable TV on).
Depending on your grade and the deck’s height off the ground, you may need to excavate or level the grade. Do what you need to do and remember that treated wood can be safely sunk in the ground.
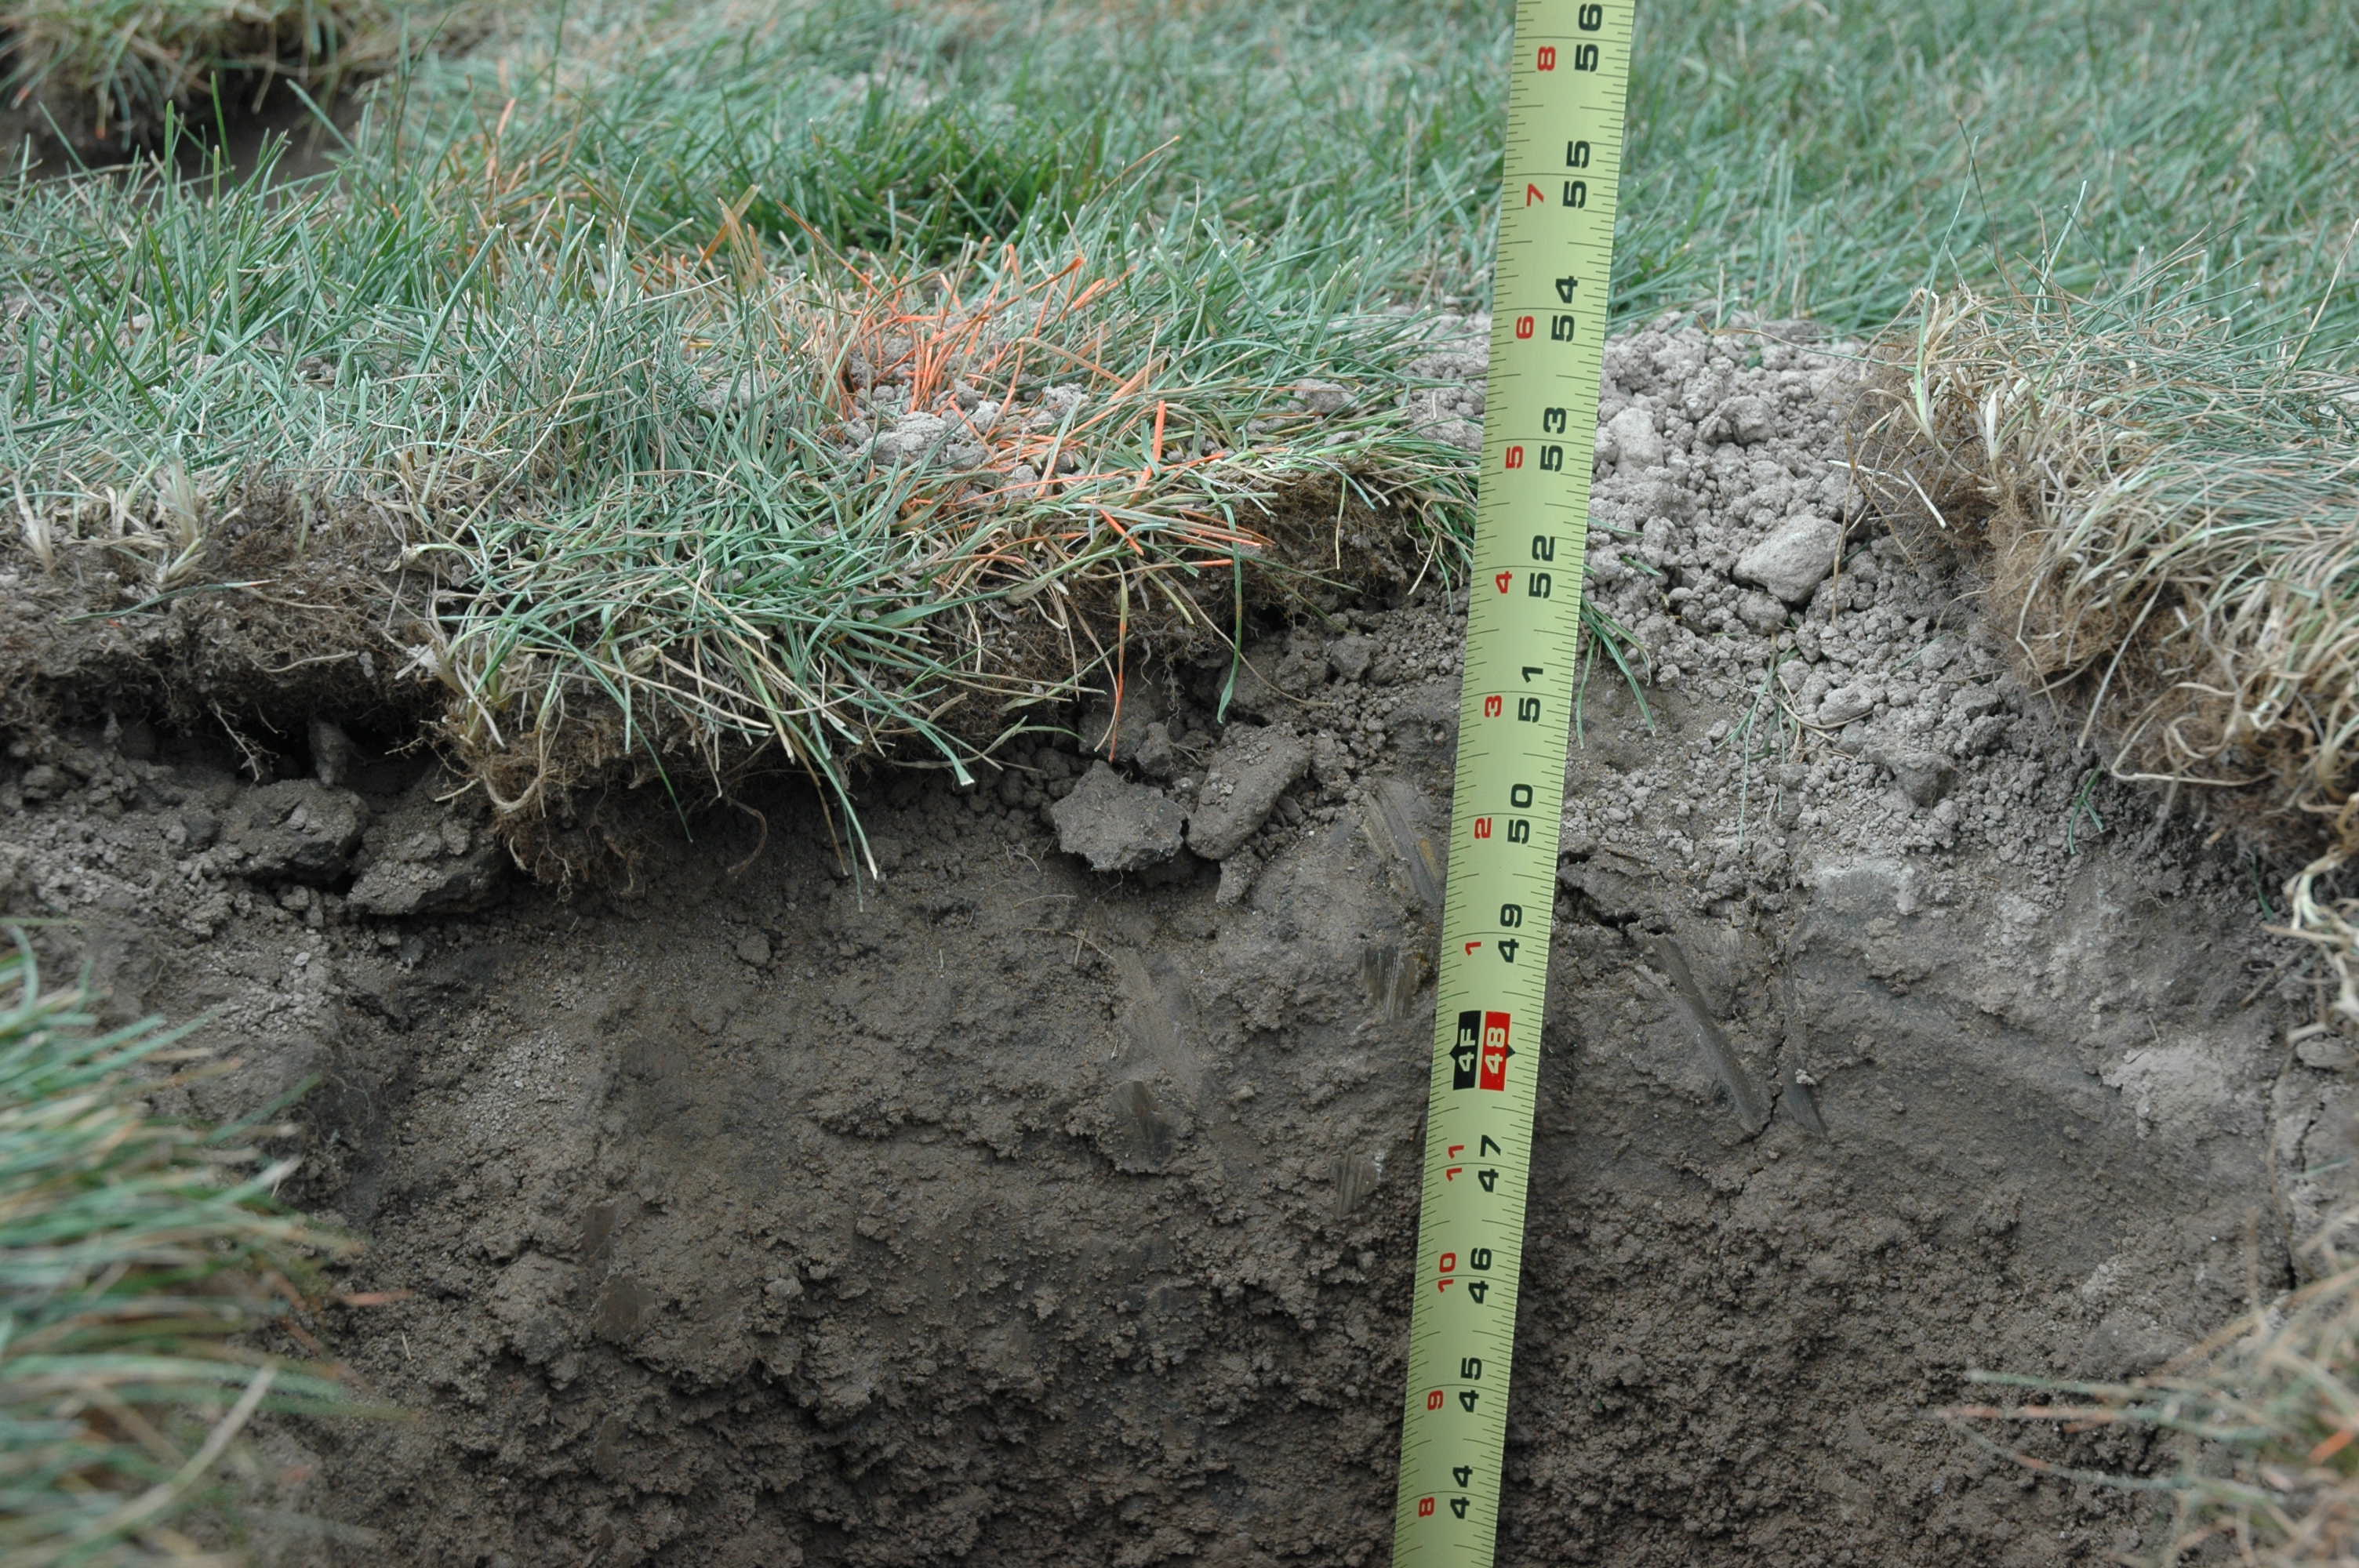
Get the tape measure to the bottom of your 48" deep hole.
Dig your post holes about 48” deep and bell out the bottom for more stability and protection against frost heaving.
You can either extend 4×4 or 6×6 posts out of the ground and attach directly to the frame or pour a concrete pier (that’s essentially a hole filled with concrete and providing a flat surface on top). Each method requires different hardware.
For extended posts you’ll need a 3/8” x 3 1/2” wood lag to attach the framing. Use an impact driver to get the lag in with speed and accuracy. Carriage bolts (3/8” x 7”) are another possibility and work well with wood. Pre-drill your hole and set the nut tight to keep it all firm and strong.
With concrete piers you’ll need to bolt a post saddle into the concrete and attach a 4×4 with lags or carriage bolts to the saddle.
Benefits and drawbacks of either method?
Piers and saddles are good for the DIY crowd and you can get away with shorter 4×4’s or 6×6’s. Don’t skimp on the hole depth or you’ll end up with a crooked deck come spring.

Put the post against your string line and fill the hole with concrete.
Extended 4×4 or 6×6 posts are simple to install in the hole with poured concrete around them. Make sure you let the concrete set properly and use a string line to get the posts in the right locations. Don’t forget to get that level and check the posts.
Mix the concrete in a wheelbarrow or rent a cement mixer for larger jobs. This is grunt work, so draw straws. For fast simple and fast results use quick setting concrete or a specialty fence/deck post mix. You’ll need access to a nearby hose as well.
Fasteners should be 18-8 stainless steel although some contractors use hot dipped galvanized to cut costs. In coastal marine environments, opt for 316 stainless for your best protection against the elements.
Step 2? Framing is next up and coming in our next article. But have a drink and rest… those posts need to set so they’re ready to support the rest of the deck.
Trackbacks & Pingbacks