
Step 3 – Bring On the Deck Boards
You’ve done well. The posts are in and the framing for your deck is complete and solid. Now for the fun (and fast) part.
Installing deck boards is a fairly straightforward job involving a lot of repetitive work. First you measure, then you cut, then you fasten. Lather, rinse, repeat, you know the sort of thing.
Required Materials & Tools ~
2×6 or 5/4×6 deck board (5/4 has a rounded edge that makes a nice finish)
Nails or screws that are rated for use with ACQ lumber (if using pressure treated wood) – OR – Color matched screws for use with Composites
Circular Saw
Carpenter pencil
Saw horse and tarp
Screw gun / Air nailer / Some sort of fastening tool
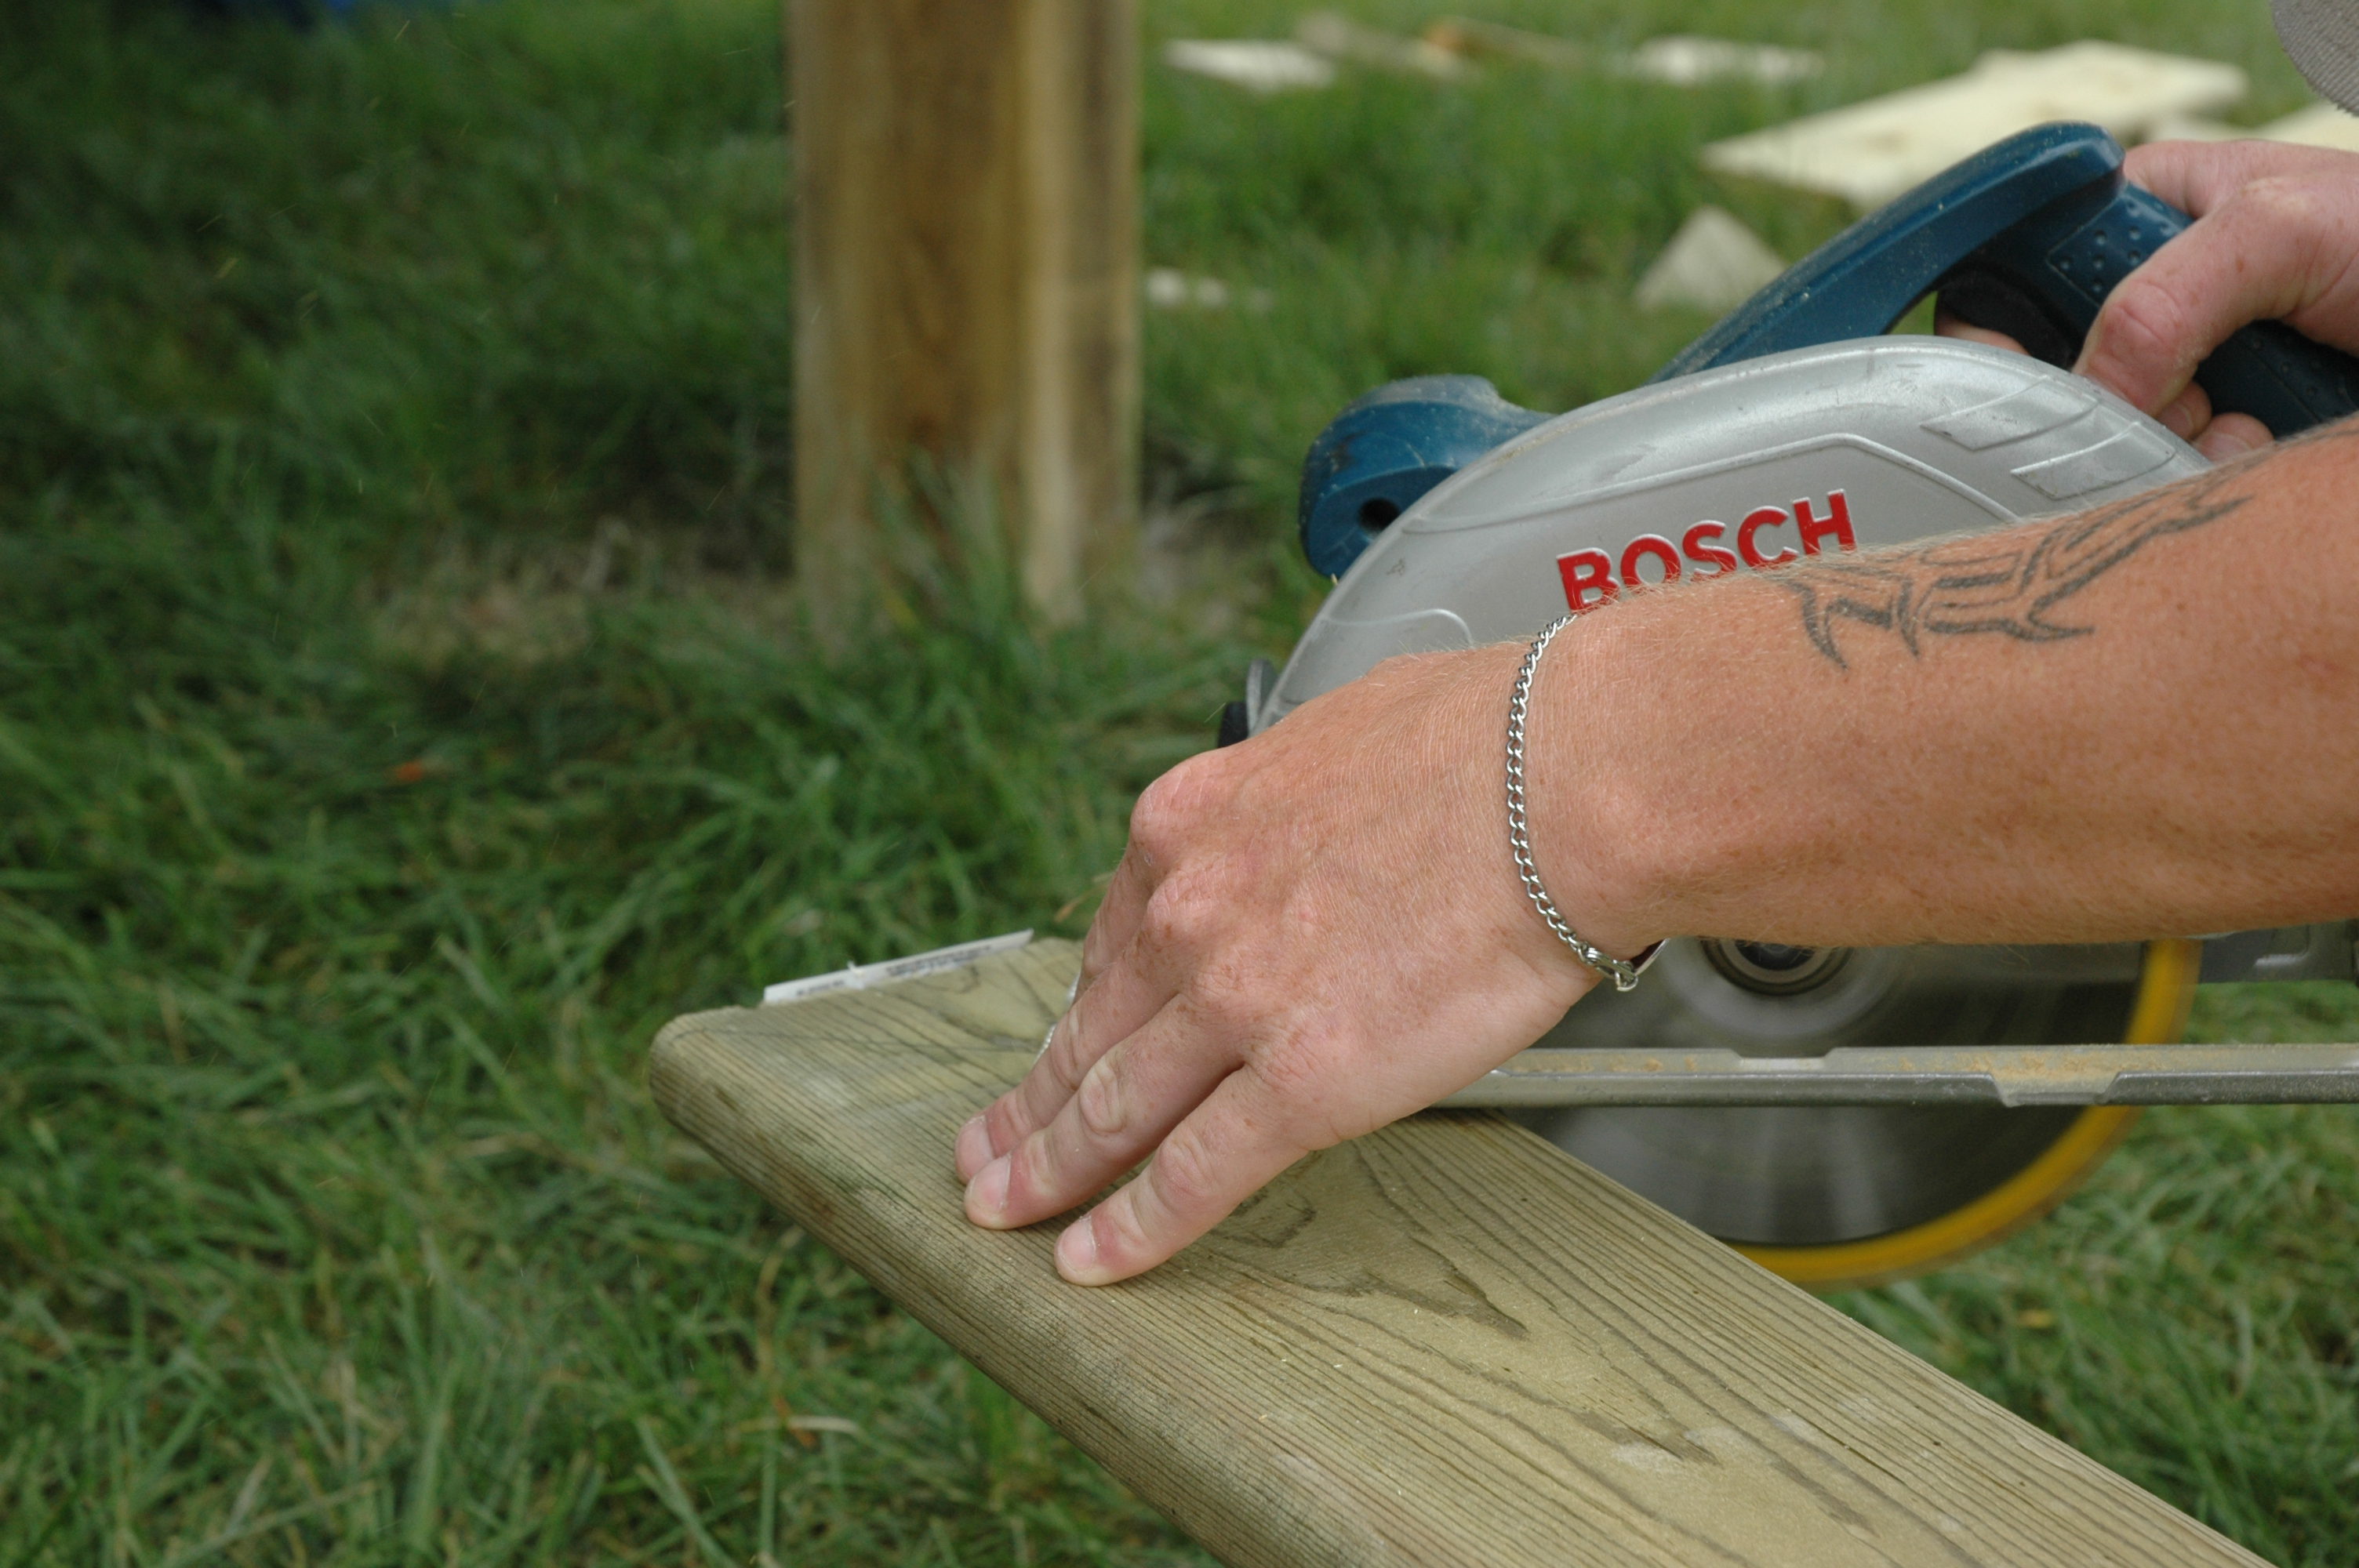
Your circular saw will trim the deck boards along a carpenter pencil line.
• Measure – This is real easy if you designed a 12, 14 or 16 foot wide deck, since deck boards generally come in those lengths. If that didn’t happen or if you’re installing the boards on a 45 degree angle, you’ll need to lay each board onto the frame and mark the cut line with your carpenter pencil. Take your time.
• Cut – Use a circular saw, a steady hand and a few saw horses for this job. You can use a table saw out in the lawn to rip down boards at either end of the deck. This cutting process gets messy, so you might want to set a tarp out to catch the sawdust and make clean-up a breeze.

Deck boards are fastened directly onto the joists, unless you're using a hidden fastener system.
• Fasten – Attach the deck boards at the joists with two 3” nails or screws (#8 x 2.5”) in each joist. Common nails are considered the best for decking and wood framing. Speaking of that, whether you use nails or screws on wood decking is entirely up to you. An air nailer is fast and makes a clean shot once you get the hang of it. Screw guns are another option for speed. Many professional deck contractors believe that structurally speaking, screws aren’t any better than nails and using them just drives the cost up. DIY enthusiasts are better to stick with nails for speed, price and efficiency.
For composite products you’ll need a specialty screw with a reverse thread on the top end. Don’t forget to get a color-matched type. The Deckfast composite line from Starborn Industries is an excellent choice, reasonably priced and available in 7 different colors. Torx drive steel, epoxy-coated and featuring an auger point, these screws deliver what you need for composite decking. Check out the online Deck Match tool for a fool proof way to find that perfect color match.

Senco Duraspin screw gun
Upgrade to the Headcote line, also from Starborn and specially made for use with Azek composite. Pick either the torx drive screw or the straight square drive stainless steel, both come with an auger point. Cut down on any mushrooming (that’s waste build up around the screw hole, not something to stir fry) and make pre-drilling a cinch with Starborn’s SmartBit. This handy extension works especially well for the Headcote line and is worth every penny.
Hidden fastener systems can be use with both wood and composite products. Using these is fairly time consuming (expect the deck board application to take about twice as long as normal), but delivers an incredibly smooth, clean finish.
Composite Vs. Treated Wood
You’ve heard a lot about composite decking products and may be wondering whether they are the product for you.
Composite decking makes a gorgeous finish, but costs a fair bit more.
The cost is exponentially higher than standard treated lumber, sometimes as much as three times the cost for the deck boards. That said, you will be buying a lifelong product though and can enjoy years of a splinter-free surface.
Quick comparison. Your average 300 square foot pressure treated ground level deck with railing would run around $3000 for materials. The same deck using Trex Contours or Accents deck board pushes you closer to $5000 and the Transcends line is even higher.
As for the maintenance factor, don’t be fooled. There isn’t a product out there that is truly maintenance free. Wood will need to be stained in order to keep its good looks, often times annually. Composite products don’t need to be stained, but they will grow mold, could discolor and will require annual cleaning to keep them up to snuff. That process won’t take as long as the average wood deck staining job (and definitely isn’t as messy), but don’t invest the money in composite thinking you can install it and forget it.
Everything requires maintenance.
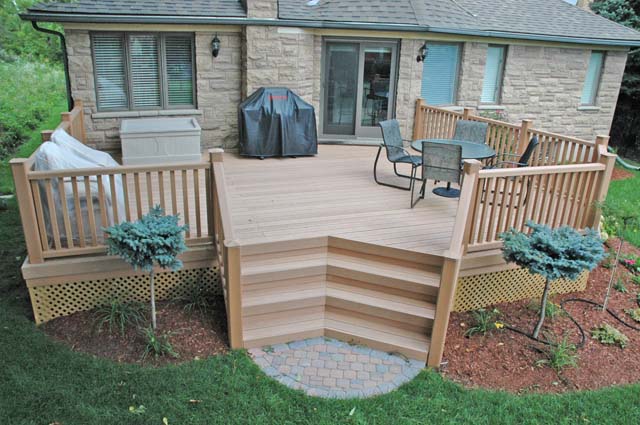
Whatever option you choose, now that the deck boards are on, your project is nearly complete. Sit out on the fresh, new surface and have a gander at your handiwork. Step 4 is up next, where we tackle railings, fascia board and stairs. Kind of like putting the jacket and tie (or makeup and shoes) on our deck, those touches will really dress up the backyard.